Circuit Race Car Progress
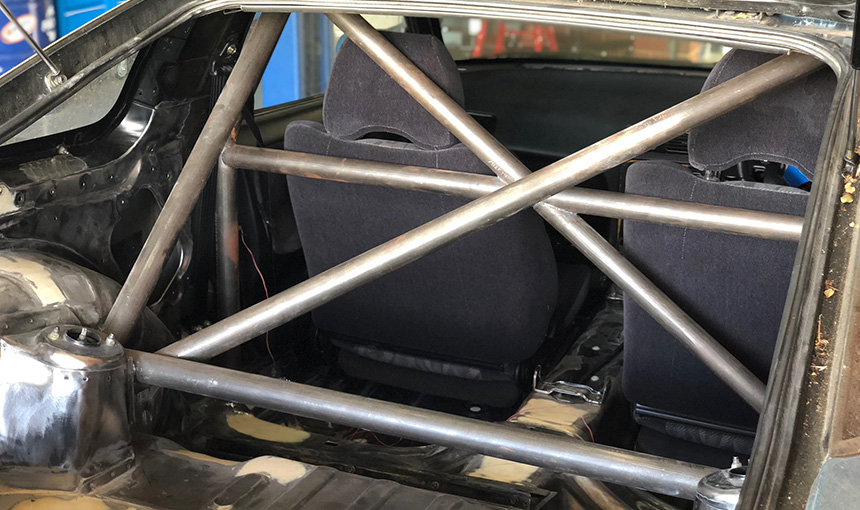
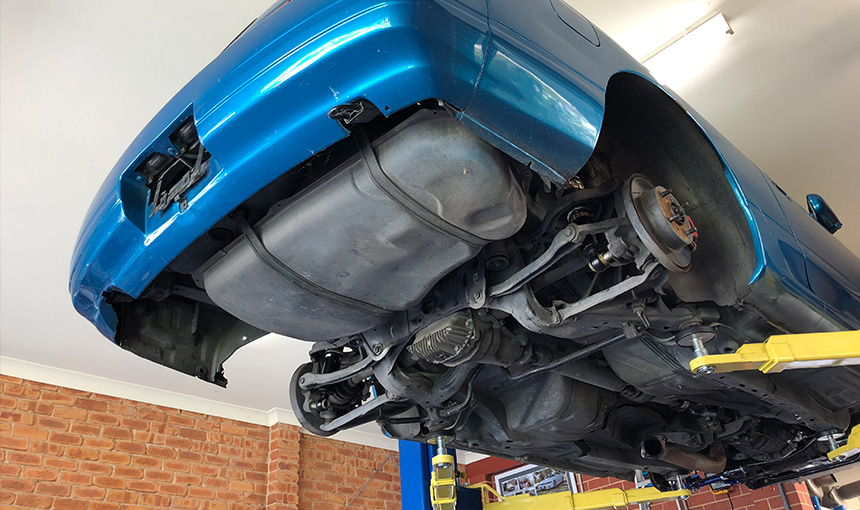
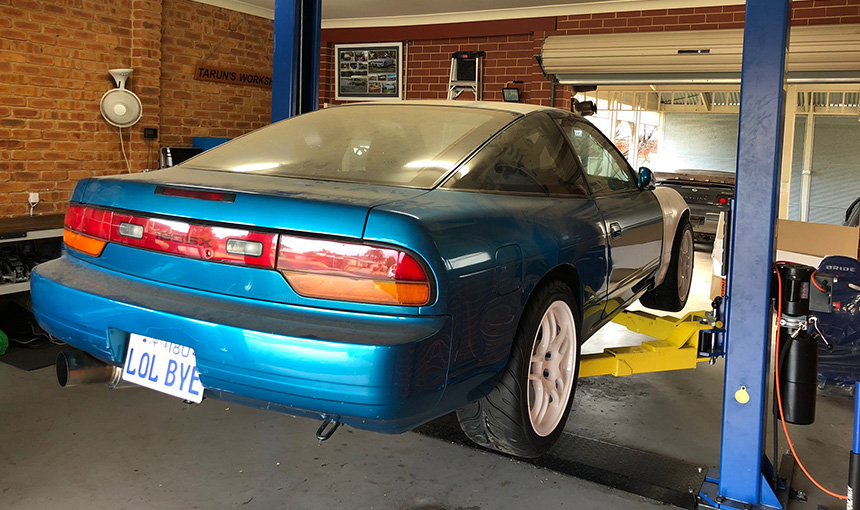
Last week I managed to shuffle a few cars around to get the 180SX on the hoist ready to begin race prep.

The shell already has a welded in roll cage which is a great start!
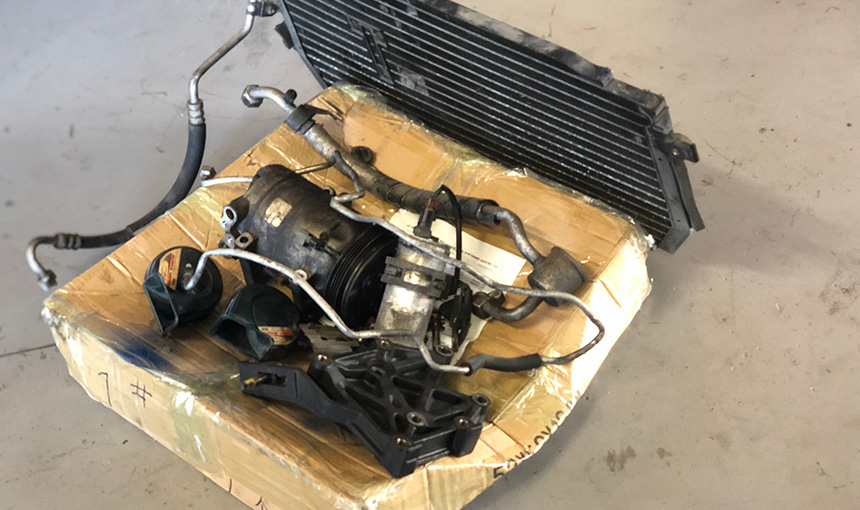
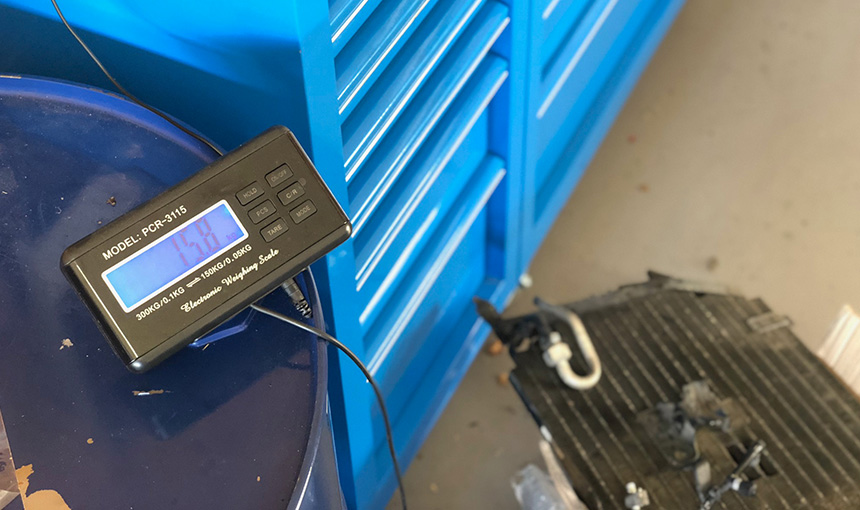
The first thing I decided to do was to strip out the factory air conditioning system to lose a few kilos — 15.8kg to be exact.
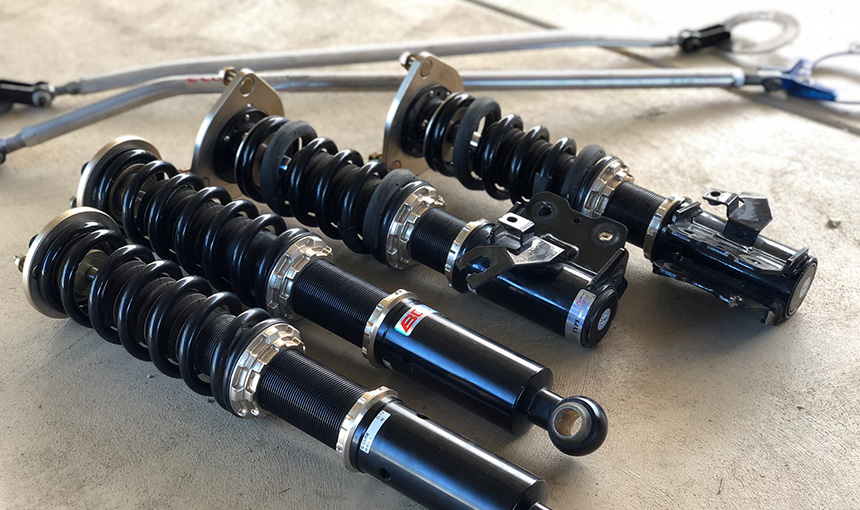
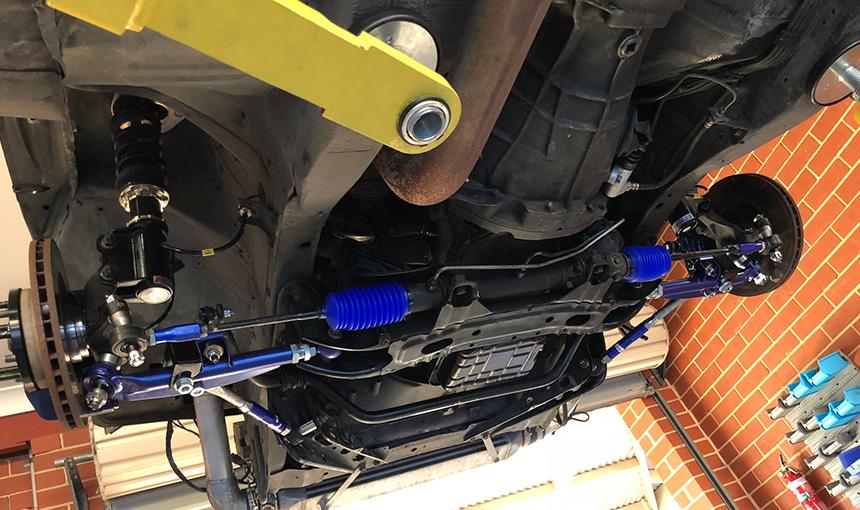
I then borrowed the suspension from another S13 project that I had laying around. These BC Racing coilovers are in excellent condition and should do their job nicely.
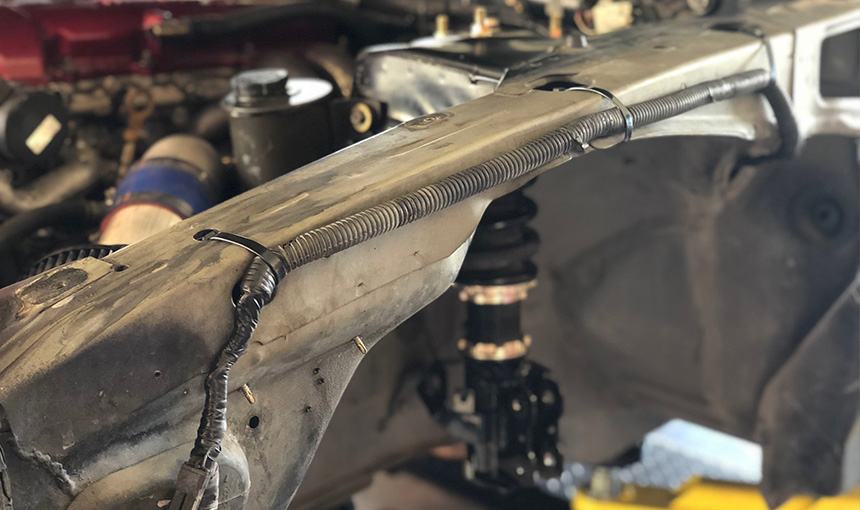
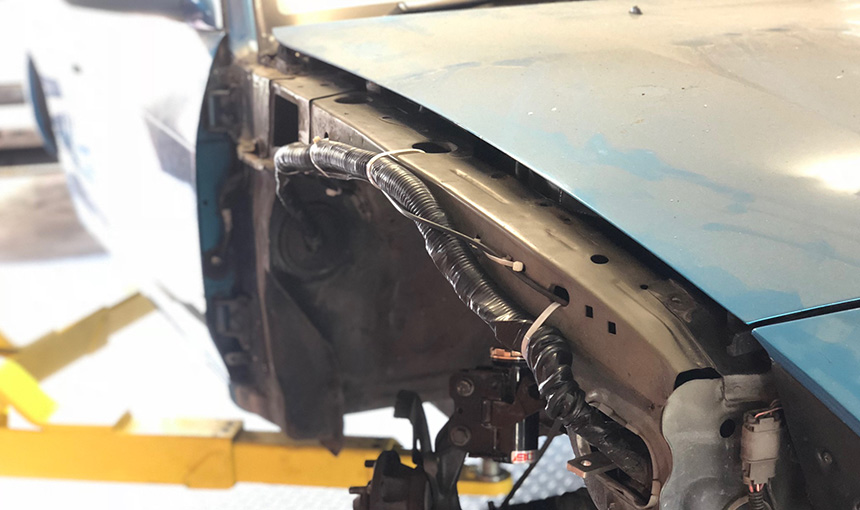
A common problem with lowering a Silvia is that the tyres manage to eat through the wiring loom. I’ve had this happen to me once and I don’t plan on going through that ordeal again. So I tucked them up out of harms way.
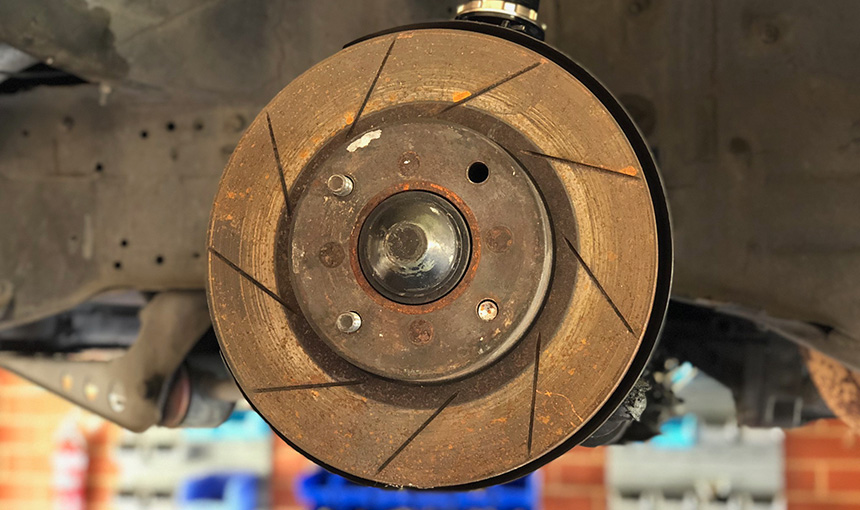
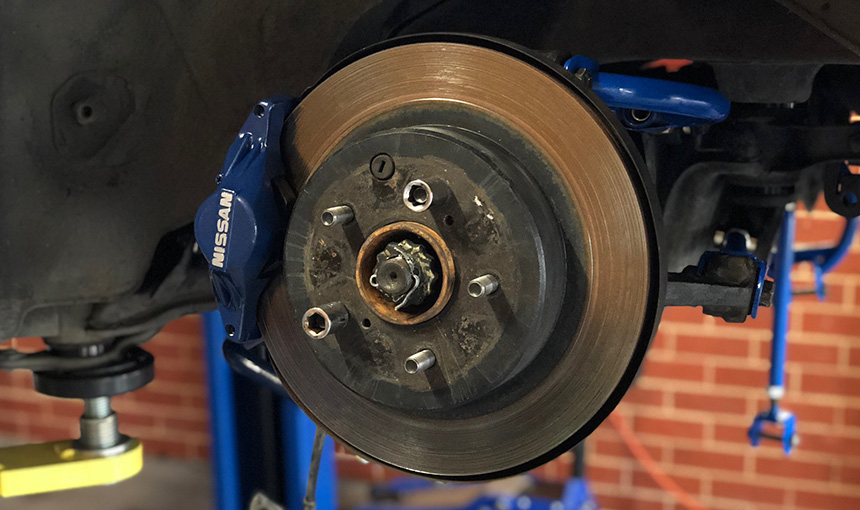
The next step was addressing the brake and suspension upgrades that I had planned.
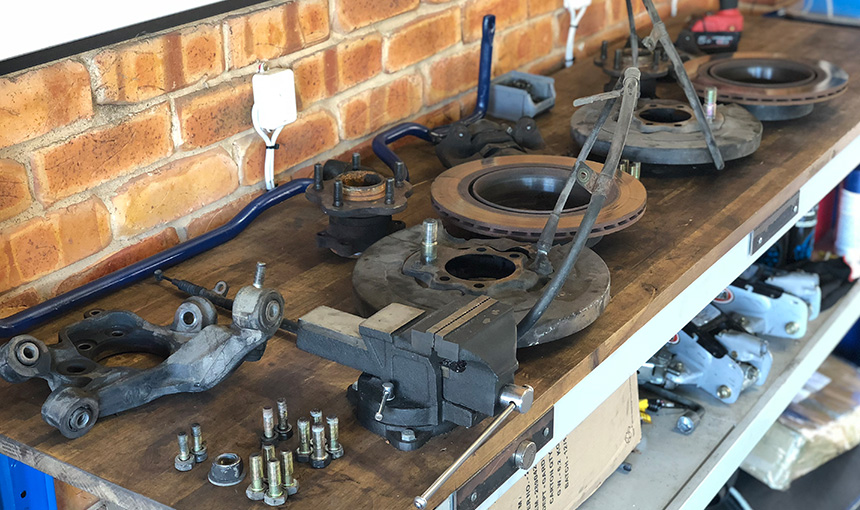
Lucky, because the factory hubs and brakes had seen better days.
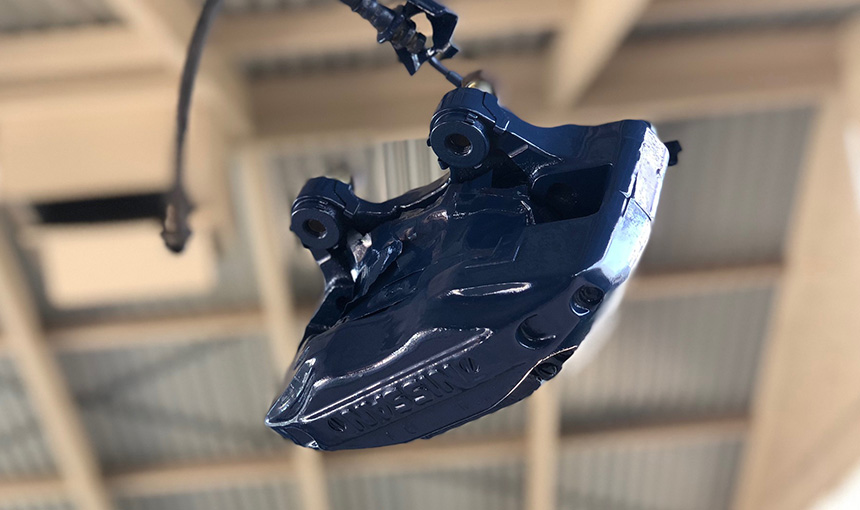
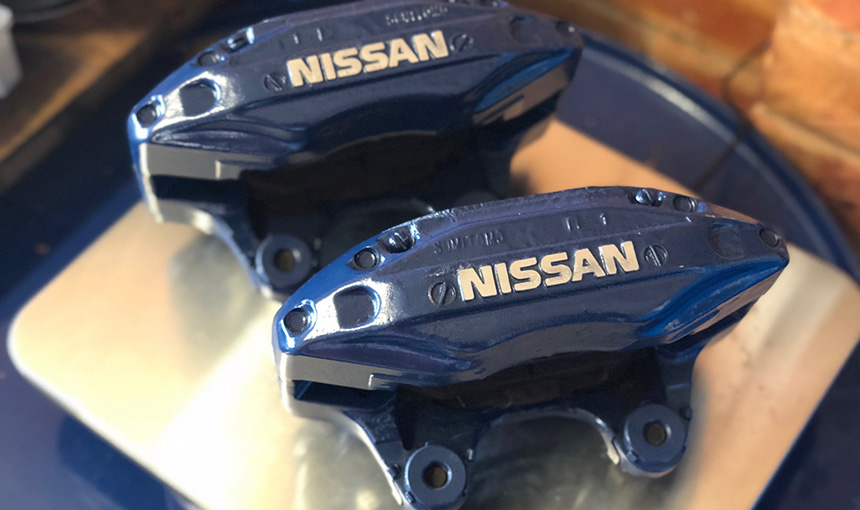
A quick lick of paint had these calipers that I took from the R33 looking new again.
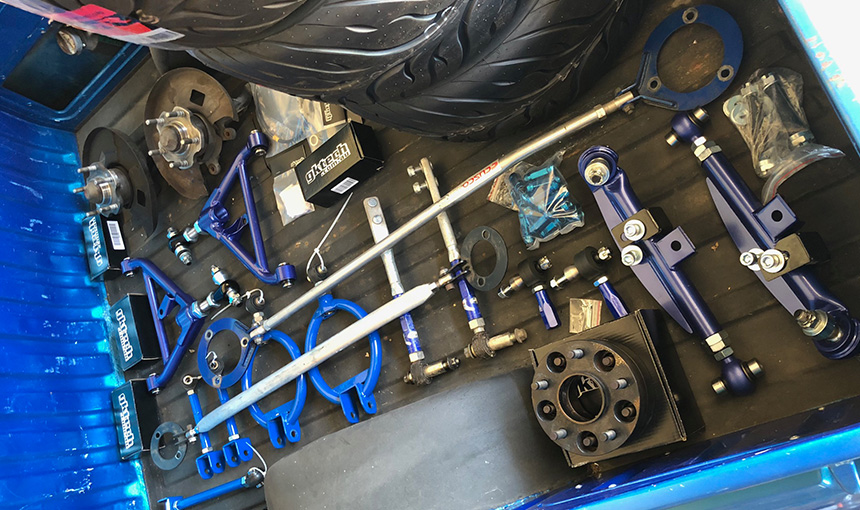
A few deliveries then turned up which meant I could finally make a start on the suspension overhaul.
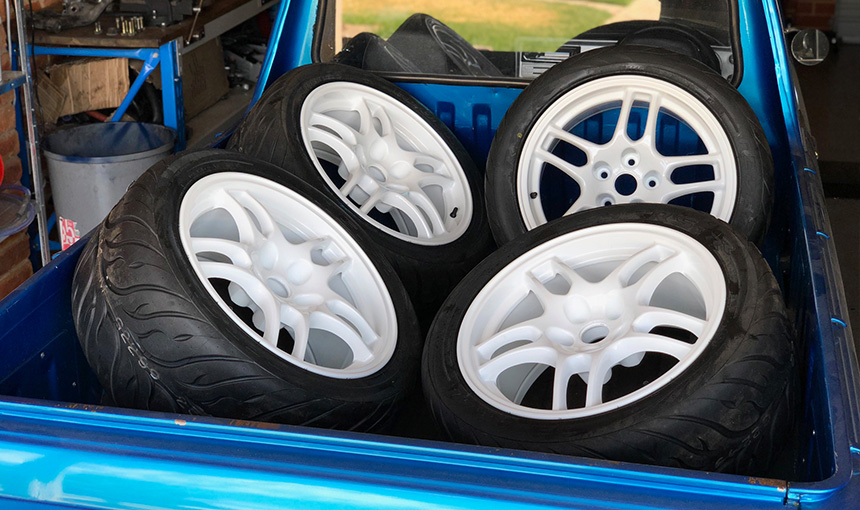
The tub of my Datsun 1200 ute makes for great storage space.
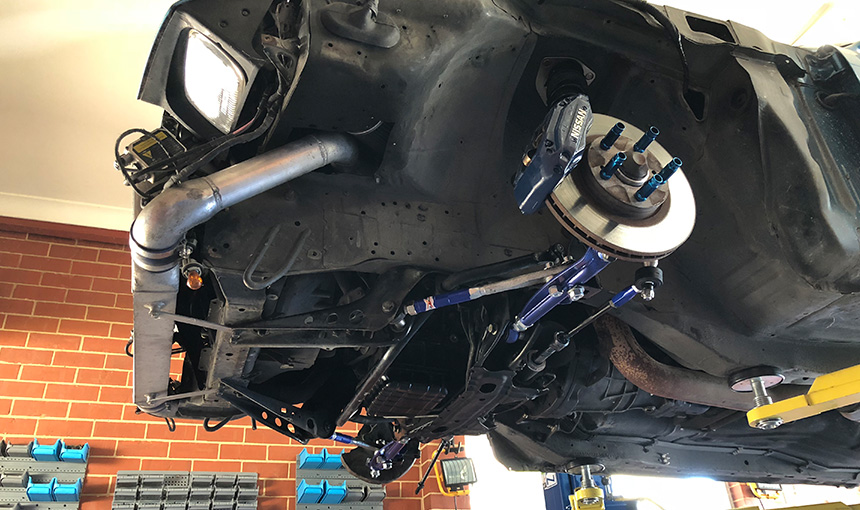
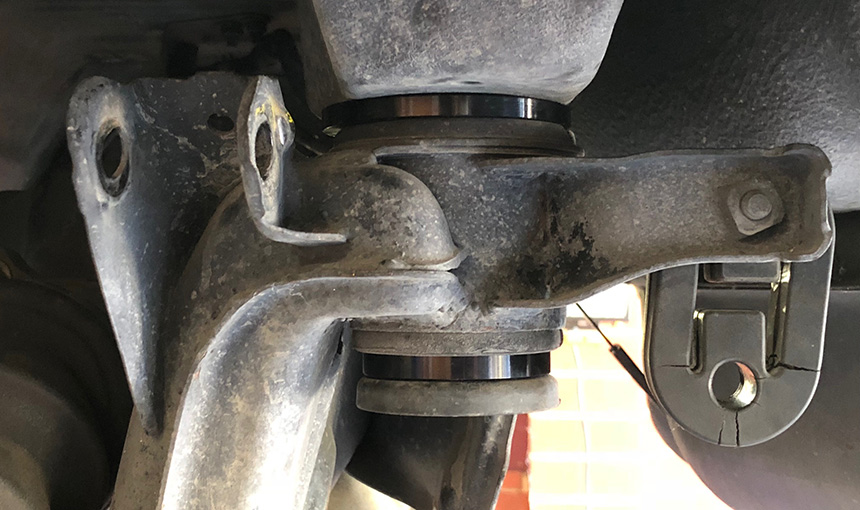
I began by removing the stock front arms and suspension components.
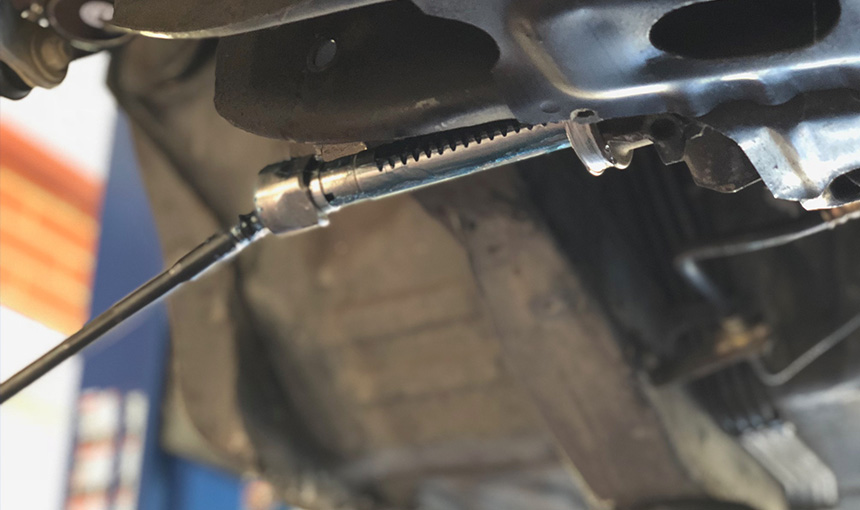
I then removed the inner tie rods and added some lock spacers to give the car a little more steering angle.
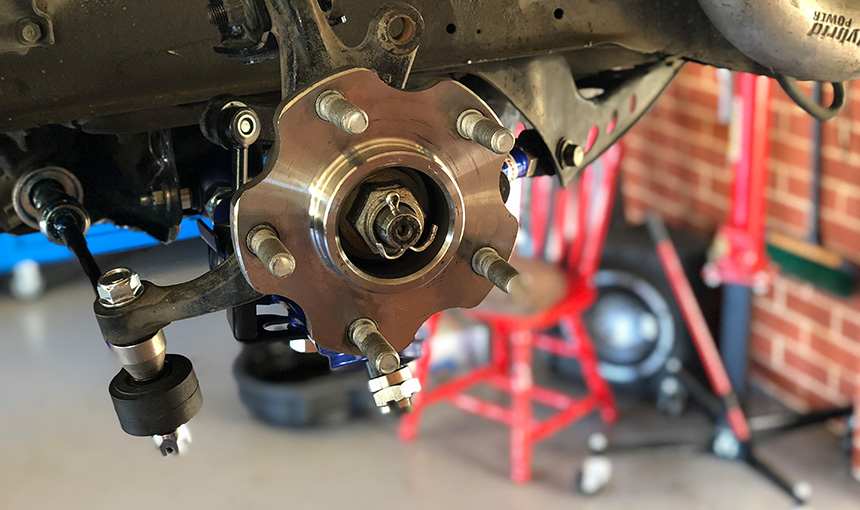
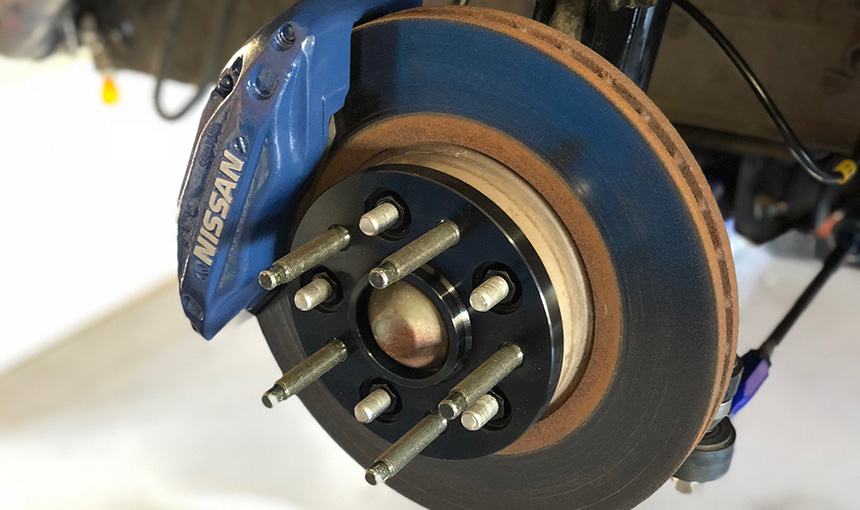
I then installed some 5 stud conversion hubs so that I could keep the stock S13 knuckle rather than having to upgrade it to an S14 item due to the difference in the size of the spindle.
I then added the front brakes from the R33 Skyline and hooked up the new braided brake lines from GK Tech.
I’m also running a 15mm hub centric bolt on spacer so that the R33 GTR wheels won’t rub on the springs of the coilover suspension.
It didn’t take long to have the front suspension and 5 stud conversion completed.
The car now has adjustable lower control arms, brand new drop links for the anti-roll bar, adjustable coilovers, adjustable tension rods and adjustable tie rod ends. It has lock spacers in the steering rack and larger 4 pot brake calipers.
Quite an upgrade!
With all this new found adjustability one thing is for certain — I need someone who knows what they’re doing to adjust it.
I may have slightly over estimated how wide I needed the front track to be.
Soon it was time to tackle the rears. A bit more effort was required to convert these to being 5 stud and using the Skylines rear handbrake setup.
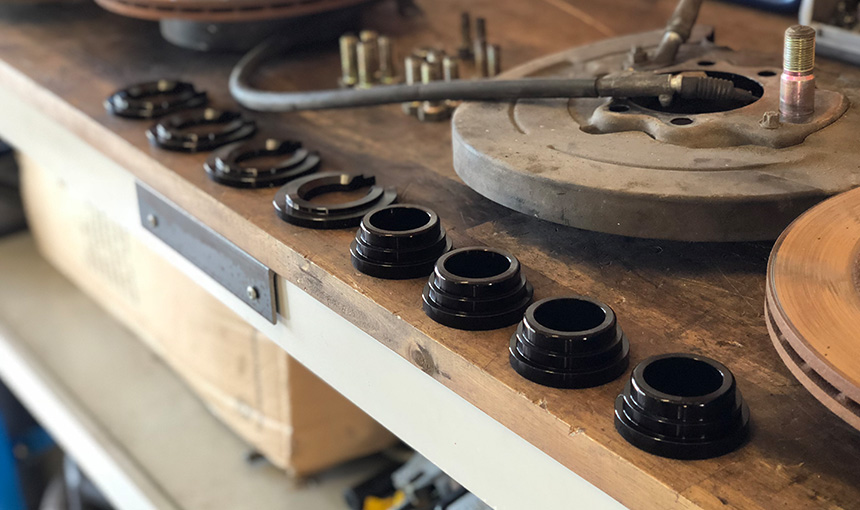
Once again I began by removing the stock arms and whilst I had good access I decided to install the slip on collars for the rear sub frame.
These will stiffen up the old factory rubber bushes somewhat without the need to remove the entire rear sub frame assembly. Very handy as I’m pushed for time!
The next step was to remove the rear hubs and handbrake assemblies from the R33 rear knuckles and transfer them on to the S13 rear knuckles as they are slightly different due to the Skyline having rear wheel steering.
This wasn’t the most fun task as they were fairly well bonded together over the years — But I got there in the end.
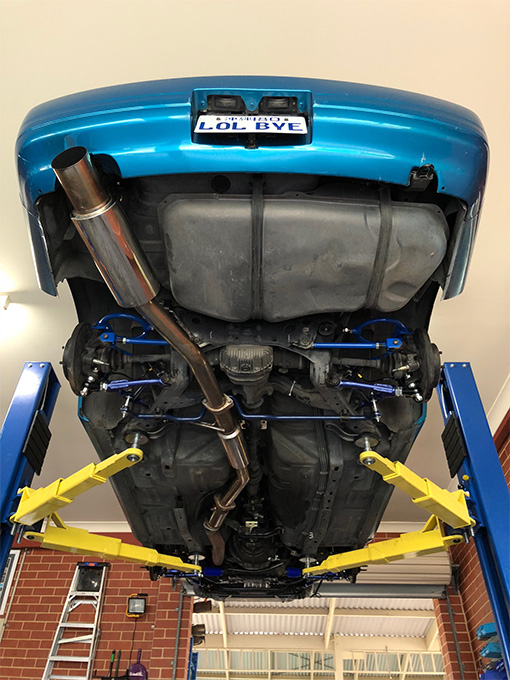
By now the rear arms were also taking shape so I took the time out to install a very light weight exhaust to replace the old rusted out mild steel one that it came with. It is now 3 inch all the way from the turbo back.
Did I mention that the wheels came back from being powder coated?
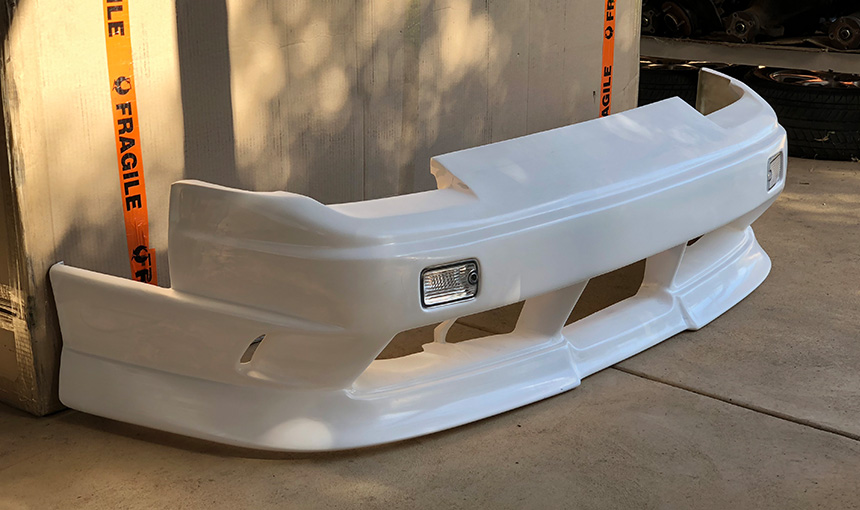
Or that the Type X replica body kit was delivered?
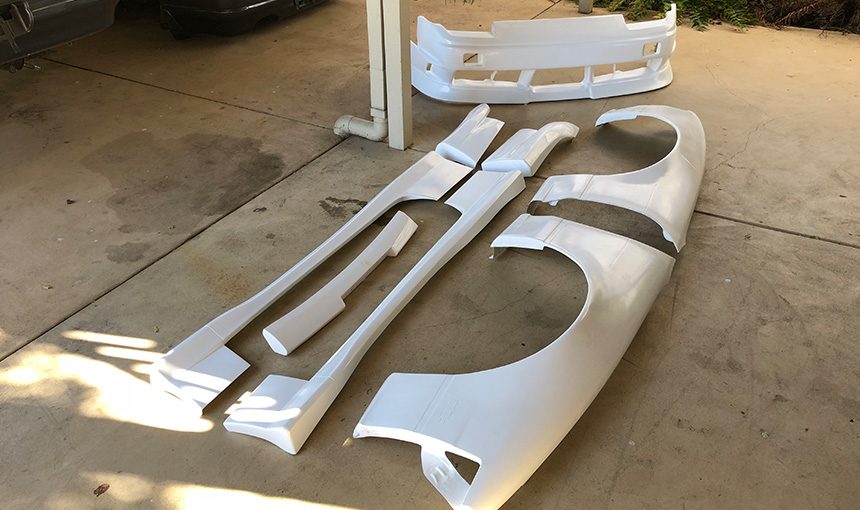
All these parts came just in time as the car had to be at the body shop by the weekend.
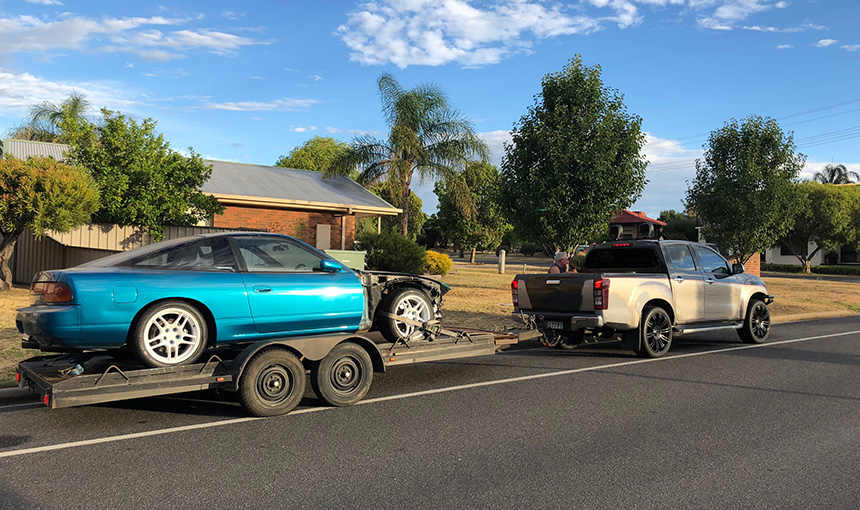
So with a few more hours put in on Saturday bleeding the brakes and setting up the handbrake cables the conversion was complete and it was ready to go!
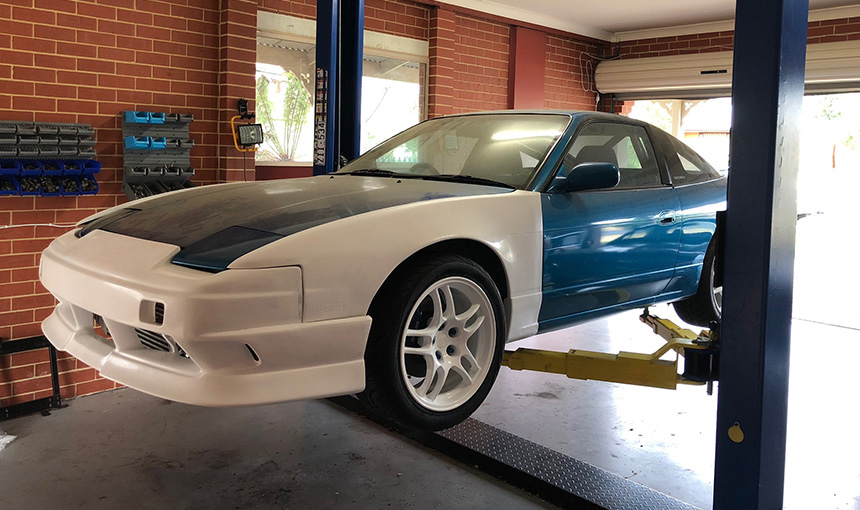
The 180SX is now headed over to the body shop to be resprayed. We can’t wait to see how the car looks with a fresh coat of paint and the new race livery.
It has been a busy couple of weeks getting the suspension done in my spare time but I’m very happy with the new setup. The car should now handle like it’s on rails after the alignment is tweaked.
Without the 2 Post Hoist these suspension jobs would have taken a lot longer to complete. In my opinion it is by far the best investment any hands on car enthusiast can make!
Interested in following the build?
