How-To Guide: Installing a Base Plate 2 Post Car Hoist
Every car enthusiasts dream is to have their own vehicle hoist at home. This guide will cover the steps involved when installing one DIY style with the help of your mates.
Prior to your purchase you would have measured the depth of your concrete and the height of your ceiling to make sure your space is suitable.
For this 4 Ton Baseplate 2 Post Hoist, we have 150mm of concrete and a 3 meter ceiling height in our garage.
Step 1: Collecting your new 2 Post Car Hoist
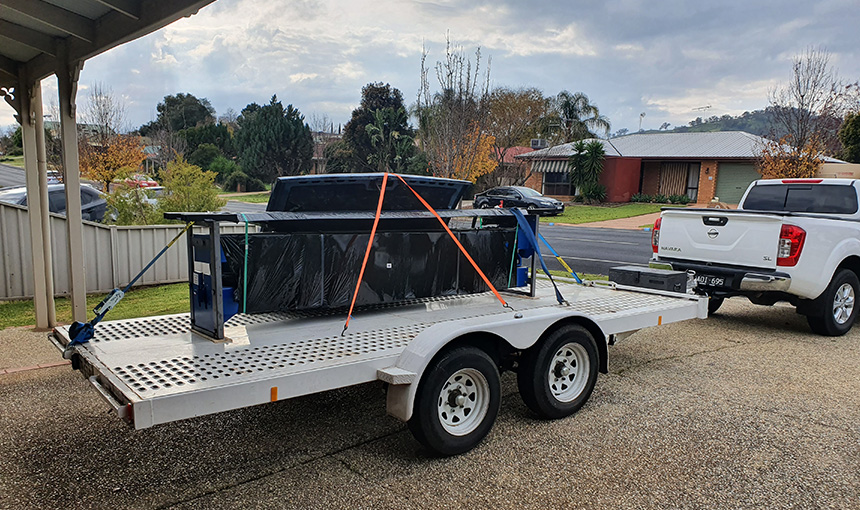
So the day has come, you’ve just been notified that your car hoist has been delivered to your closest depot and you need to go pick it up.
You’ll need a car trailer to do so, so it’s time to borrow or hire one if you don’t own one yourself and head to the collection address.
Once you arrive back home, the fun task of unloading 700+ kilograms without the help of a forklift can begin.
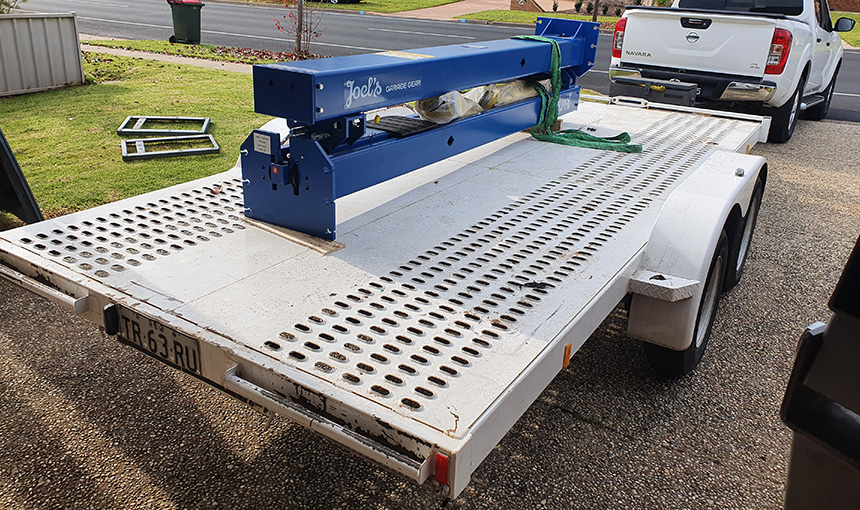
Step 2: Preparing to safely unload the 2 Post Hoist
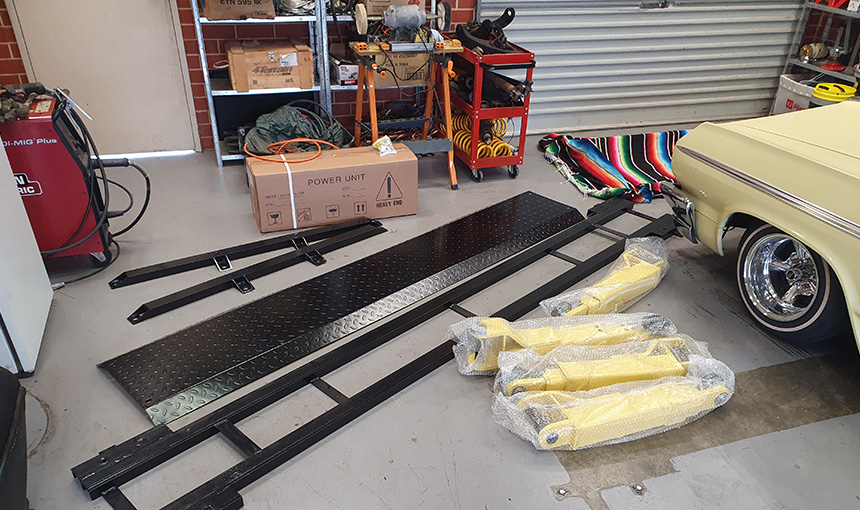
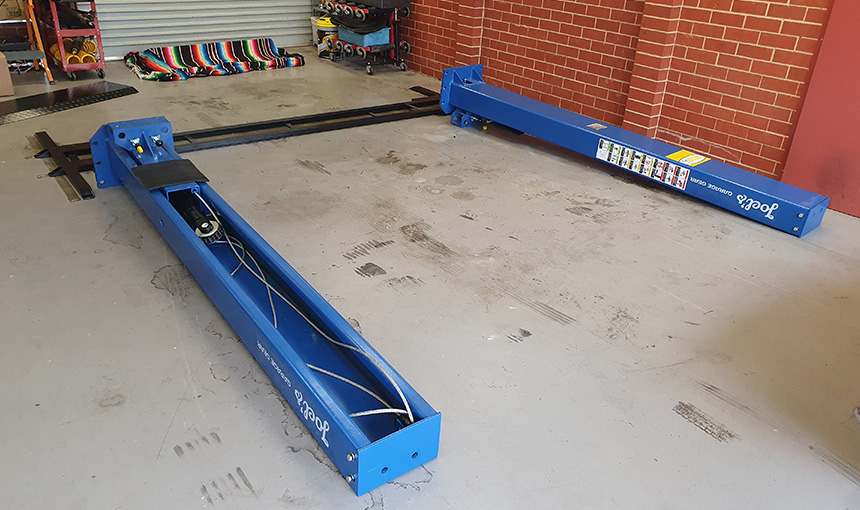
Begin by cutting and removing the packing straps and black plastic and unload the sub-frame and base plate from on top of the columns with the help of a mate.
Then grab your rattle gun and a suitably large socket and undo the packing bolts holding the two steel end plates on and discard them.
You may need to carefully pry them out from underneath the columns.
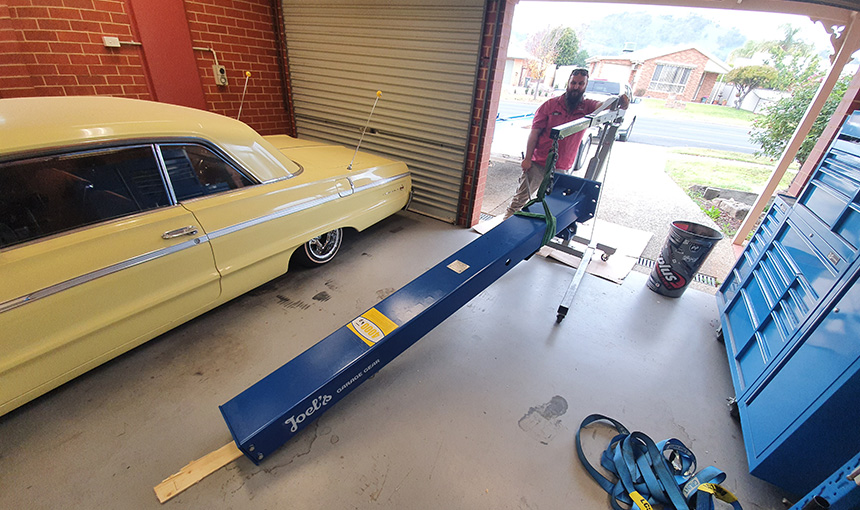
Step 3: Lifting the first column off the trailer
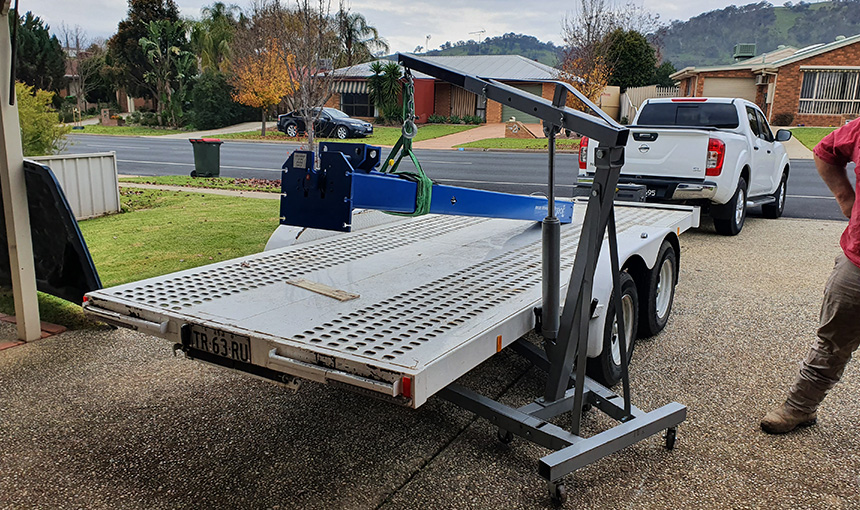
To do this safely you’ll need to have an engine crane, a sling and a mate to help out.
Begin by wrapping the sling around the bottom of the column, we placed it around the area with the rubber door guard as this is where the majority of the weight sits.
Now attach the engine crane and begin lifting the column at one end whilst your mate grabs hold of it at the other end.
The top of the column will have next to no weight in it and should be quite easy to pick up and move off the trailer as you roll the engine crane back.
Carefully place it down in your garage and undo the sling.
Step 4: Emptying the contents from the second column
You can now unload the four hoist arms, hydraulic hoses, concrete anchor bolts and the column bolts from inside the second column and place them in your garage alongside the power unit that came separately.
Step 5: Unloading the second column off the trailer
Repeat exactly the same process outlined in Step 3.
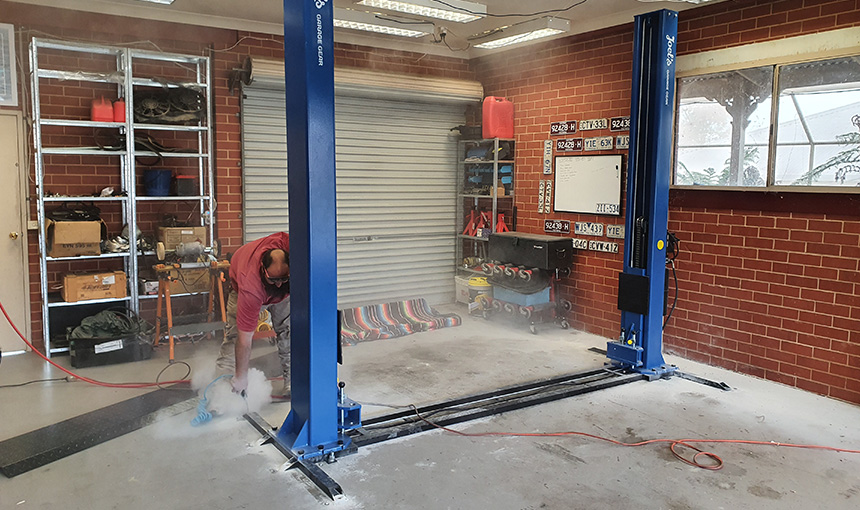
Step 6: Preparing your work space
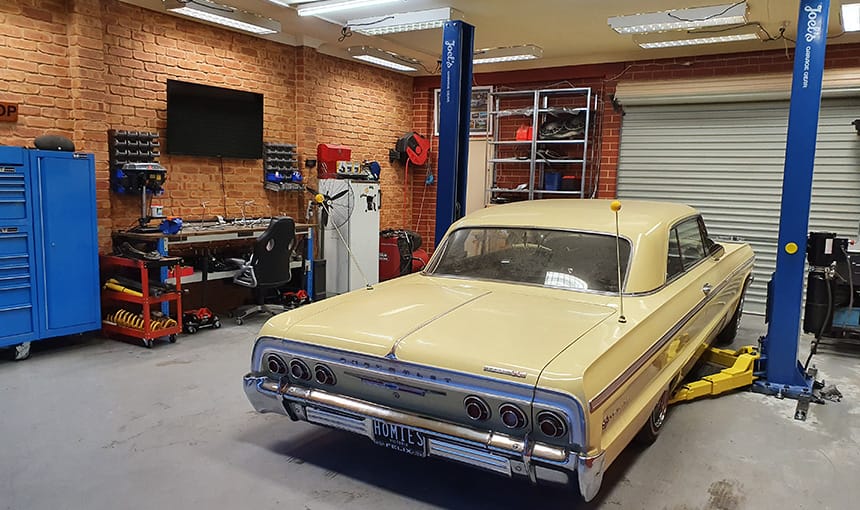
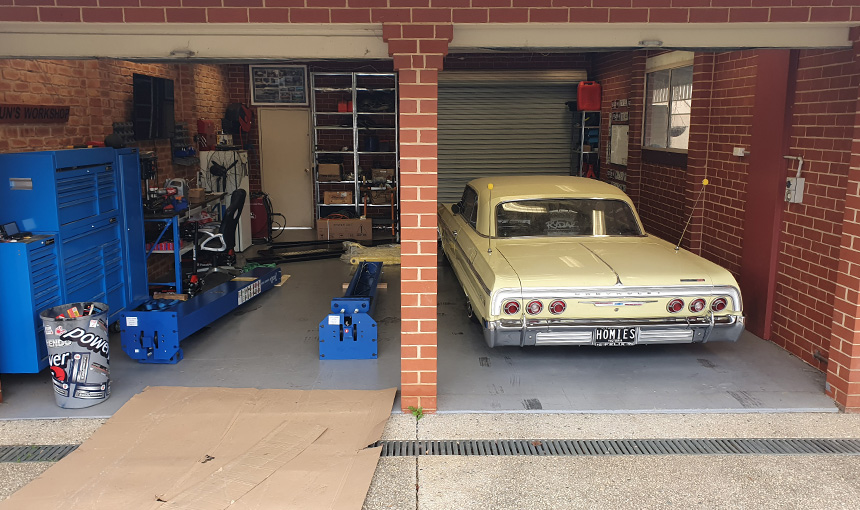
As we had this exact model hoist in here once before, we simply needed to move the Chevrolet out of the way and sweep the floor.
But if this is your first time locating your hoist, you will need to consider its placement carefully.
Will you be able to drive a car straight in-between the columns? We couldn’t due to the brick roller door divider, so we needed enough space to be able to manoeuvre a car past that obstacle.
Every garage will be different, so be sure you’ve taken a moment to think about any complications that could arise. Once you’ve drilled in to the concrete it’s too late!
Step 7: Setting the sub-frame in place
Once you’ve decided where your hoist will sit, lay the sub-frame down in place and put the base plate over it.
Now drive your car in and make sure you have no issues getting on and off the hoist. Especially if you’ve got any obstacles to avoid.
Step 8: Moving the columns in place
Using the same method with the engine crane and sling, move the columns as close as you can in front of the sub-frame ready to lift up into place.
Be sure to note which side you want your power unit to sit as only one column is drilled to accept it.
Step 9: Securing the sub-frame
At this point you need to drill your concrete and secure the main sub-frame in place. (Not including the out riggers as yet!)
We actually only secured it with two anchors at this stage just to stop it from moving on us as the columns were lifted up onto it.
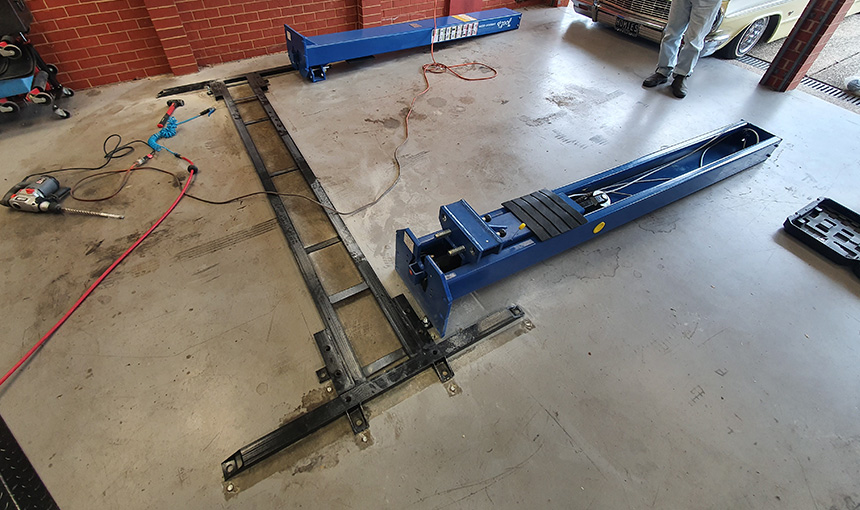
Step 10: Running the cables
This is an important step, if you lift the columns up without running the cables across first you will never be able to snake them in as there is insufficient space with them in the vertical position.
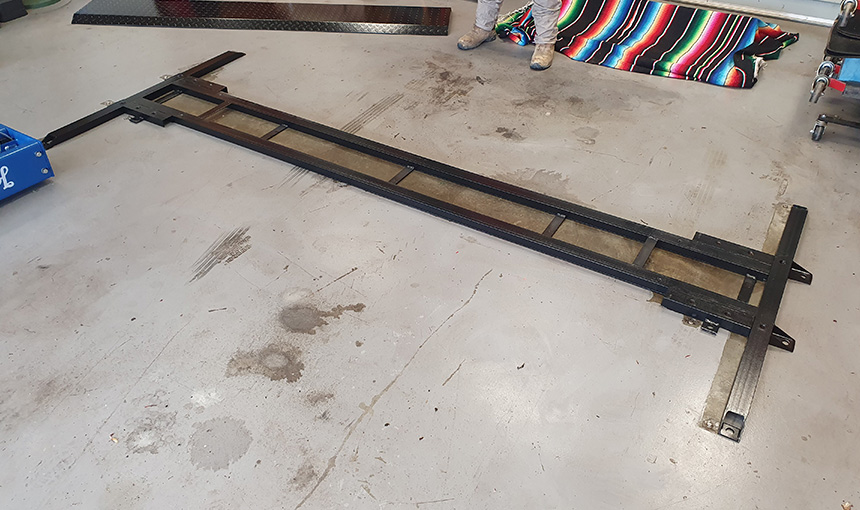
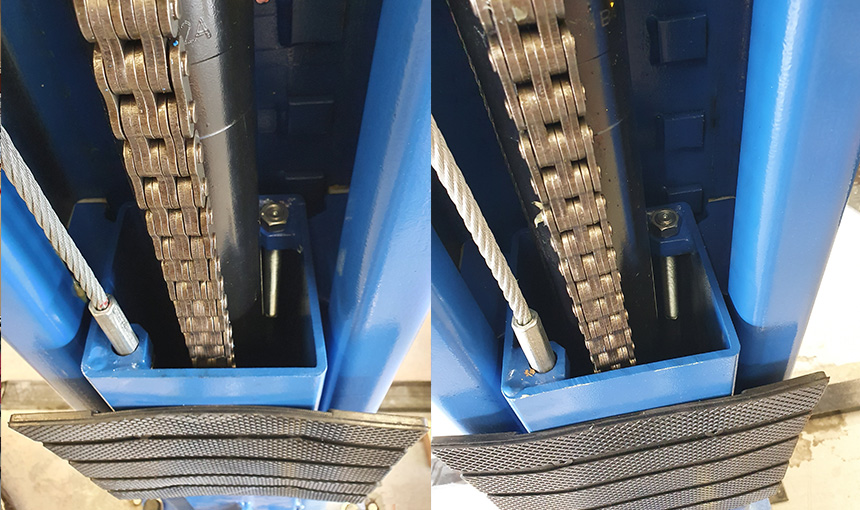
Begin by grabbing the loose end of the cable in one column, there will be two nuts on the end of it, remove them.
Now snake it through the carriage and out through the corresponding pulley at the base of the column and under the sub-frame strap on both sides and then up into the opposite column through the pulley on the same side.
Repeat the same for the cable on the other column until you end up with the same as the image below.
You do not need to secure or tighten the cables at this point, as you need as much slack as you can get when lifting the columns onto the sub-frame.
Step 11: Lifting your columns upright
This is usually the most daunting step, however it is fairly easy with the help of a couple of mates.
Begin by using the engine crane to lift the bottom edge of the column on top of the sub-frame. Then drop it down and move the engine crane out of the way.
Now with the help of two other people lift the column up at the top and begin walking it upright. Take extreme care when carrying out this step!
Once it is upright on the sub-frame you can shuffle it into place and secure it with the bolts provided.
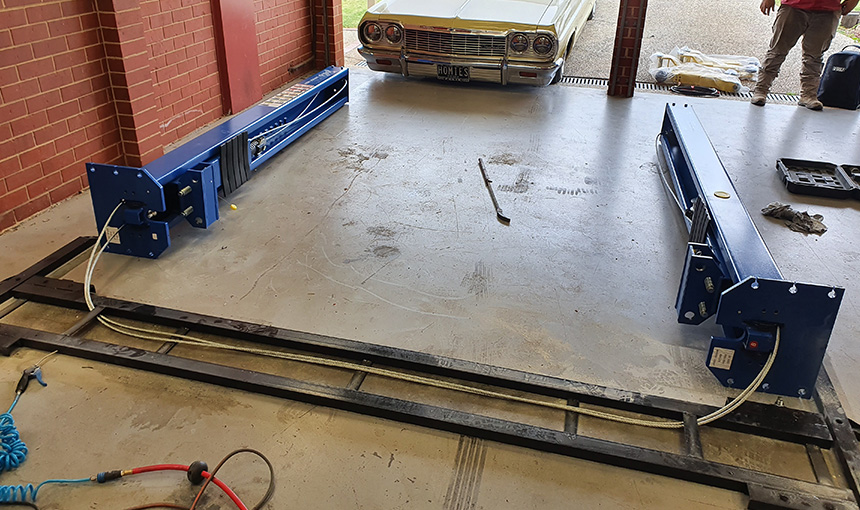
Step 12: Securing the cables
Now that both your columns are up, you can reach into the carriages and grab the opposite columns cable.
It needs to come up through the hole to secure it and be held in place with one of the nuts you previously removed.
Step 13: Check your cables are sitting in all the pulleys
Double check that your cables have not jammed anywhere and that they are secured on both the bottom and top pulleys within the columns.
Step 14: Tensioning the cables and running the hydraulic lines
Before tensioning your cables, ensure that your hydraulic rams are located securely in their bottom holes within the columns and that their chains are on correctly.
Sometimes the chain bunches up from moving the columns around and it can stop a carriage from dropping down all the way.
You’ll know if this has happened as your cable will generally be too short to reach the hole to secure it as the carriage is sitting too far up the column.
If this is the case, you will need to lift the carriage up to release it and then allow it to drop all the way back down before securing your cable.
Once you’ve got everything sitting correctly in place you can then tension up the cables so that they are no longer dragging on the floor within the sub-frame.
Try to get both sides as even as possible without making the cables too tight and then put the second locking nut on each side to stop them undoing.
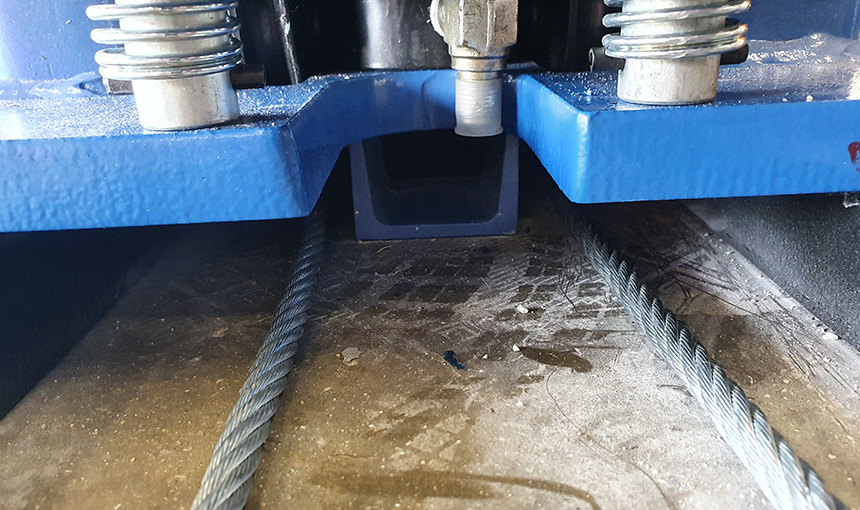
You can now run the hydraulic line in between the two columns and use the clamps to keep the cables from rubbing on the hose.
Again, be sure to run the hydraulic hose under the sub-frame straps at each end.

Step 15: Installing the power unit
With the help of a mate mount the power unit to the column with the bolts provided. Then attach the last hydraulic hose from the power unit to the fitting on the back of the hydraulic ram.
You can then fill the tank up with just under 10 liters of hydraulic fluid.
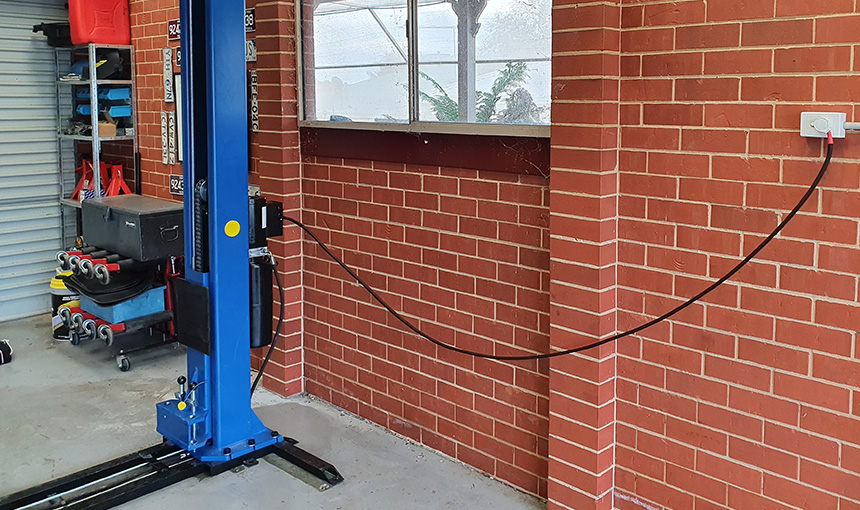
Please note that you will need a certified electrician to wire up the 16AMP power unit for you. It is illegal to carry out this step yourself and we do not recommend that you do so.
Step 16: Securing the hoist to the concrete
Now that your columns are secured to the sub-frame and everything is in place and unlikely to move it is time to secure the remaining mounting points on the sub-frame to the concrete.
Begin by drilling the remaining holes to the correct depth and then use compressed air to clear out the concrete dust before driving in your anchors with a large hammer.
Once completed, tighten all of your anchor bolts down until they are firmly secured.
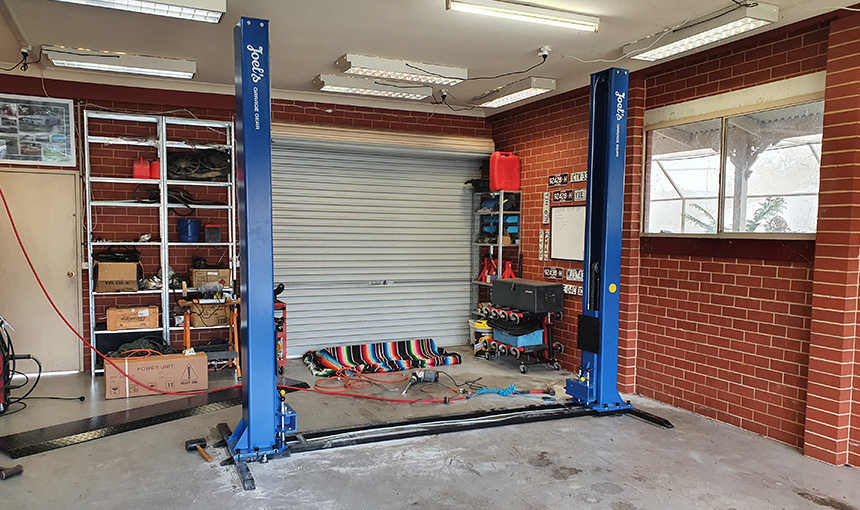
Step 17: Leveling the columns and bleeding the hoses
Once you’ve finished securing the hoist to the concrete you need to check that the columns are straight up and down. Using a spirit level and the supplied shims you can adjust the columns to make sure they are plumb.
With the help of a mate you can now attach the four hoist arms to the carriages, they are all the same length.
Begin by removing the cir-clips on the pins and slide them out, then slot the arms onto the carriages and slide the pins back in. You can then put the cir-clips back on once they are in place.
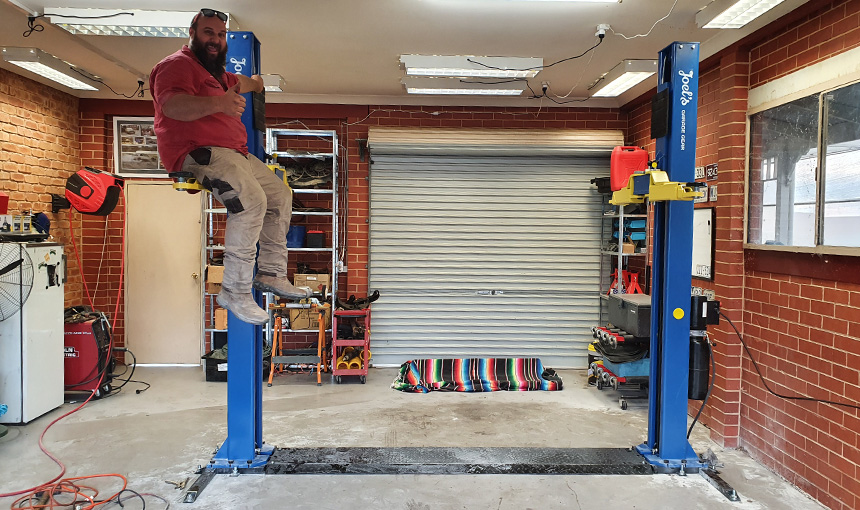
Now head over to the power unit to begin the bleeding process. Start by making sure that the emergency stop is out and power up your hoist until you reach maximum travel.
Then release the safety locks on both sides by pulling the release cables and use the lever to let the carriages all the way back down.
This can be a slow process with no weight on the arms, however we don’t encourage you to sit on the arms as pictured.
You will need to repeat this process two or three times until a smooth operation is achieved, which means the air has been bled correctly.
You should also hear the safety locks click at the same time going up and going down if you have adjusted your cables correctly. If they are completely out of sync you will need to re-adjust the cables until they align with each other.
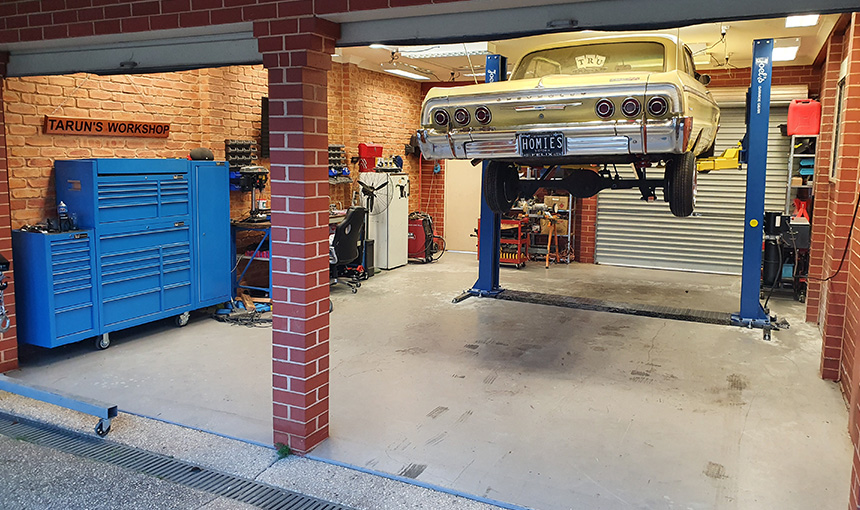
Step 18: Putting your car on the hoist
When putting any car on your 2 post hoist it is important to follow the manufacturers recommended jacking points for vehicle lifts. Failing to do so could result in serious injury or even death.
Once the vehicle is securely on the lifting pads, lift it until the wheels are only just off the ground. Then walk around the vehicle giving the body a firm shake to ensure it is safe to work under.

Step 19: Lifting your car in the air
Once you are happy that the car is safe to lift, you may raise it to your desired height. You will hear the safety locks clicking as the hoist lifts.
Once you reach your desired height, make sure that you use the lever to lower it down onto the safety locks before working under it!
Step 20: Lowering your car back down
Once your hoist arms have the safety locks engaged you will not be able to lower it down without first raising it slightly.
To lower your vehicle back down, press the button to raise the car off the safety locks a few centimeters and then pull the safety release cables on both columns.
You can now use the lever to lower your car back down to the ground.
That concludes our guide on how to set up your new 2 post hoist. Whilst it may seem daunting at first, it is a relatively straight forward process for most hands on car enthusiasts.
With the help of a few mates, it shouldn’t be more than a days work. It will however save you hundreds of hours when working on your car! If you have more queries heading to Joels Garage Gear or call our customer service.
Ready to purchase this hoist for your home garage?