How-To Guide: Preparing your concrete for a Car Hoist
Want to install a car hoist in your shed?
If you’re planning on installing a car hoist in an existing shed, garage or workshop the first thing you will need to do is check that your concrete specifications are adequate.
For safety both our 2 post hoists and 4 post hoists require you to follow the minimum concrete thickness for that particular model as recommended by the manufacturer.
What if my concrete is not suitable?
This is a common occurrence, however it doesn’t mean that you need to redo the entire slab.
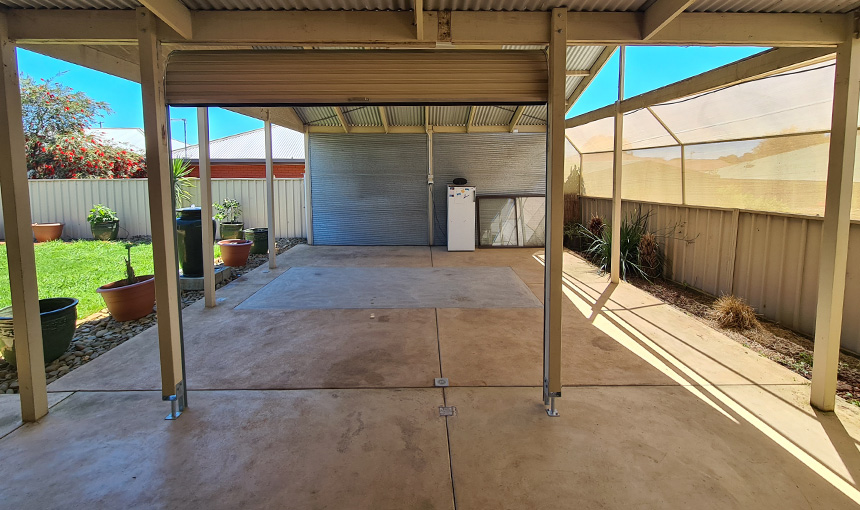
The example below shows an outdoor pergola area being converted into a small workshop instead. The owner plans on installing our 4.5 ton 2 post clear floor hoist when completed.
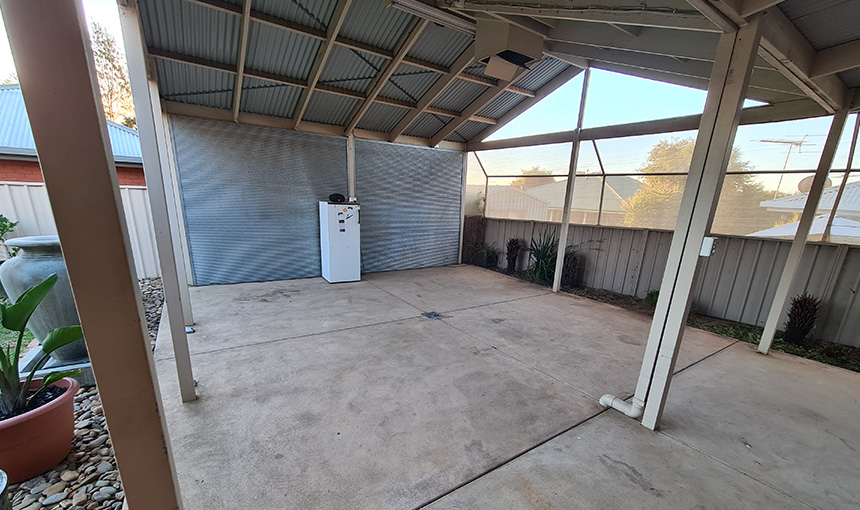
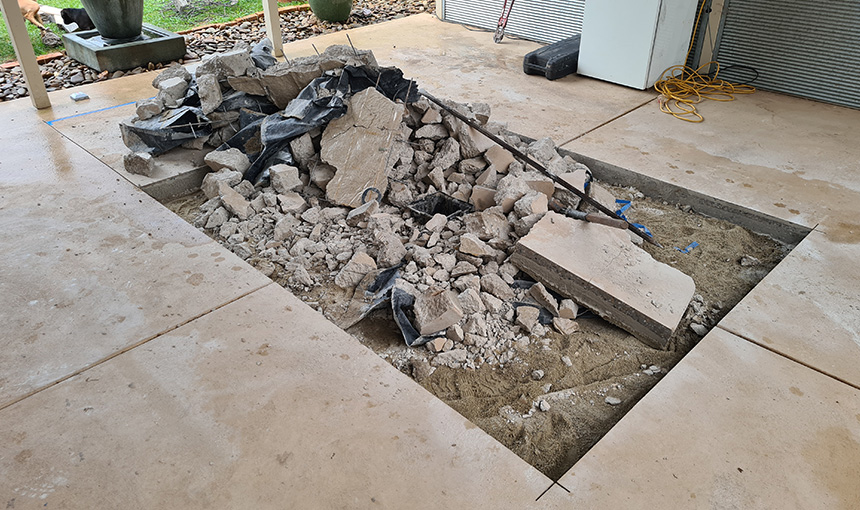
The existing concrete was not only not deep enough but it also had a fall that required leveling and there were expansion cuts in the column locations.
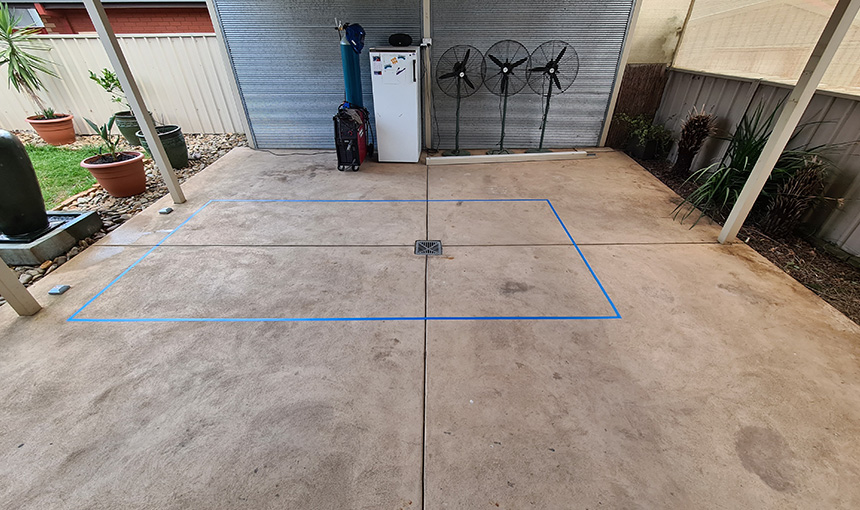
The first step was to mark out an area 4 metres wide by 2 metres long according to where the new 2 post hoist would be positioned.
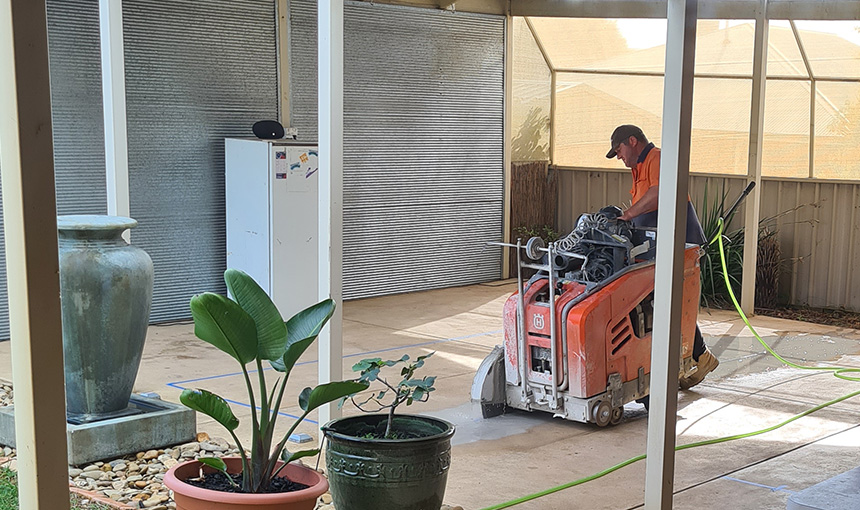
The existing slab was then neatly cut with a concrete cutting machine. This was inexpensive and made the old concrete a lot easier to remove.
The old concrete was then dug up by hand and the rubble was taken away ready to begin the preparation for the new slab to be poured.
The plumbing for the previously existing storm water drain was then adjusted as it would no longer be required in an enclosed shed.
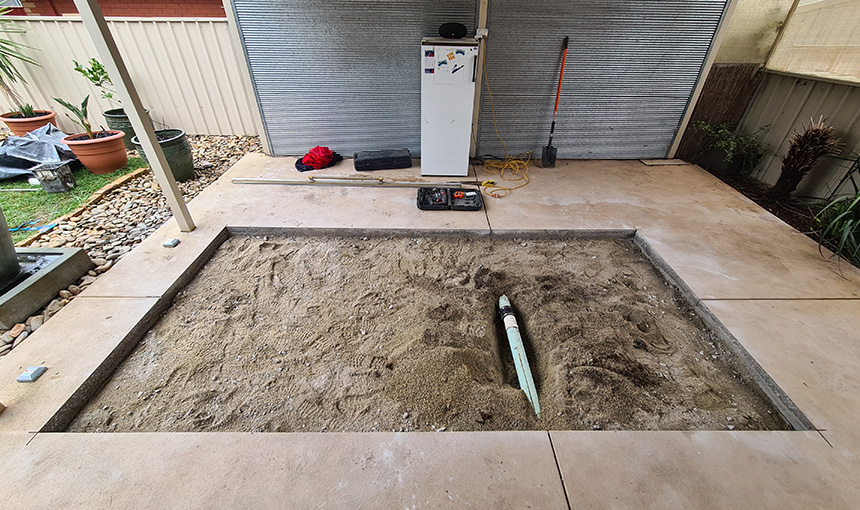
The ground was then dug deeper and leveled to allow for 200mm of fresh concrete to be poured in.
The surrounding slab was also drilled and reinforcement bars were fixed in place in order to attach the new slab to the old concrete.
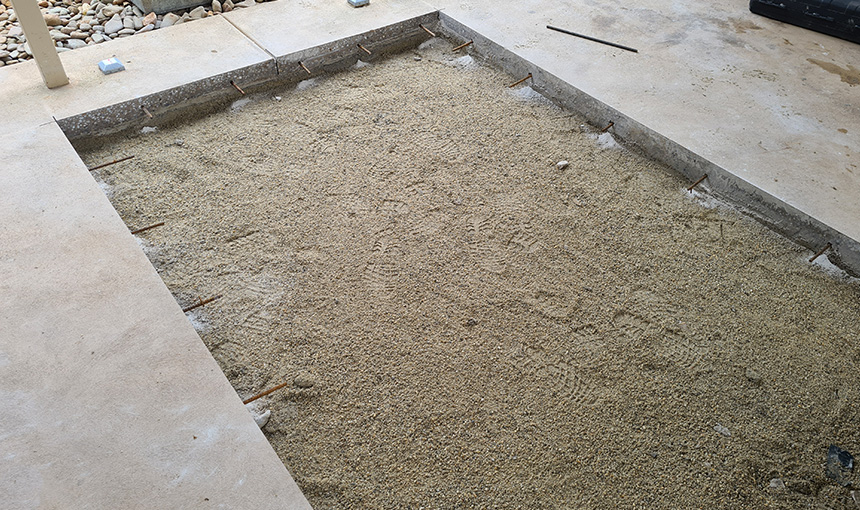
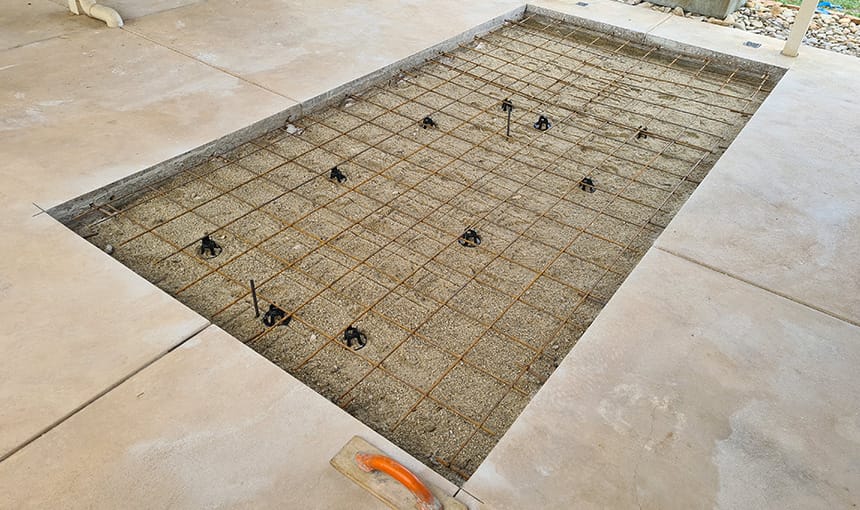
82 mesh reinforcement was then cut and placed in the pit as the final step before pouring the new concrete.

With rear yard access the cement truck was able to deliver the fresh concrete just metres away from the site which made for an easy job.
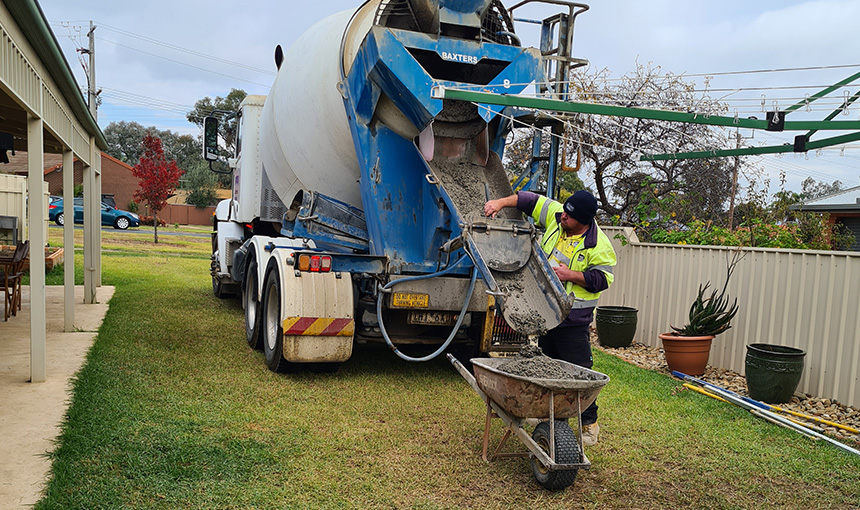
The concreters then got to work filling in the pit with fresh 32MPa concrete to form the solid new 200mm slab.
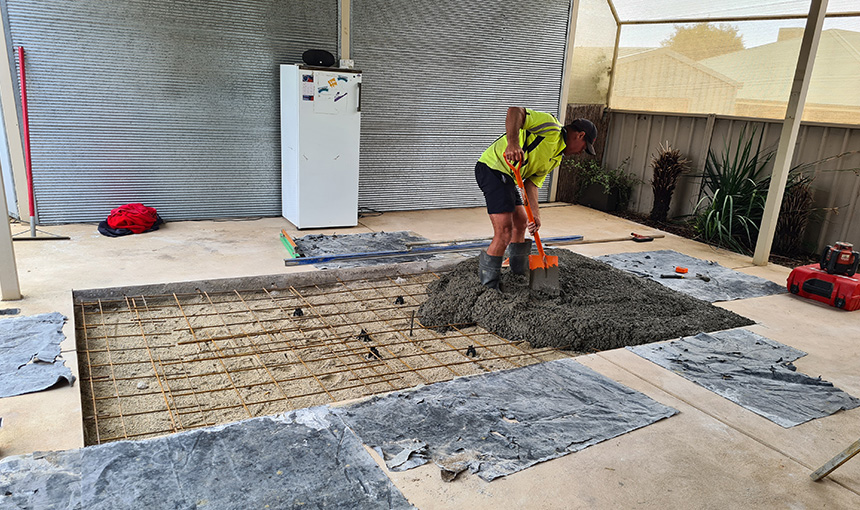
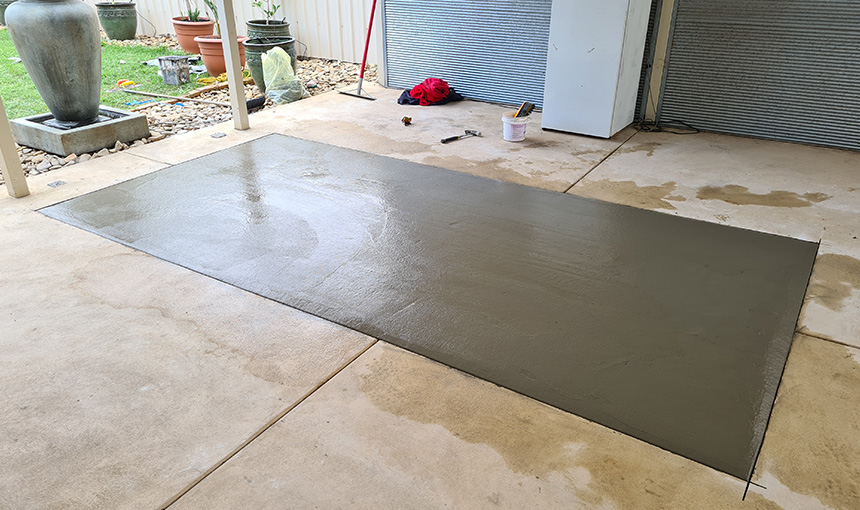
Once filled they set to work spreading the concrete to finish the new slab with a completely level surface where the hoist columns would be mounted.

They then feathered the edges in order to slope it towards the existing concrete where it fell due to the old storm water drain that was in place.
Finally they added a trowel finish to the surface so that it didn’t stand out from the existing concrete once the floor was sealed.
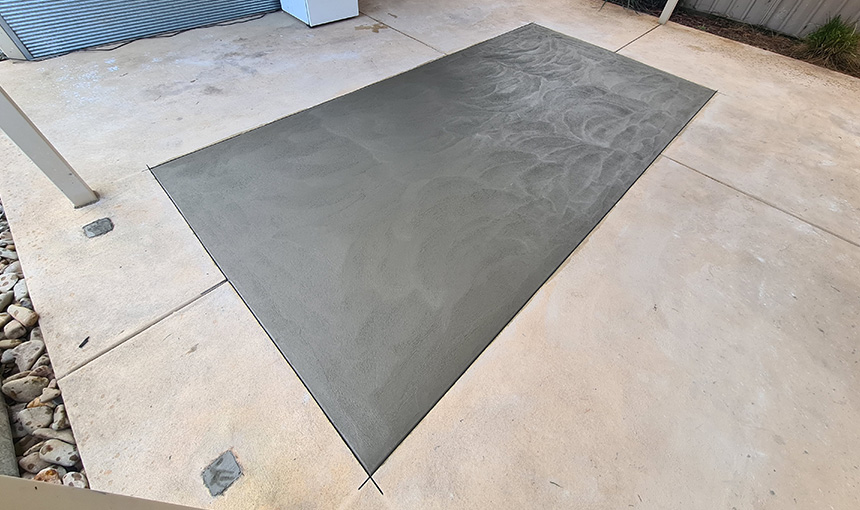
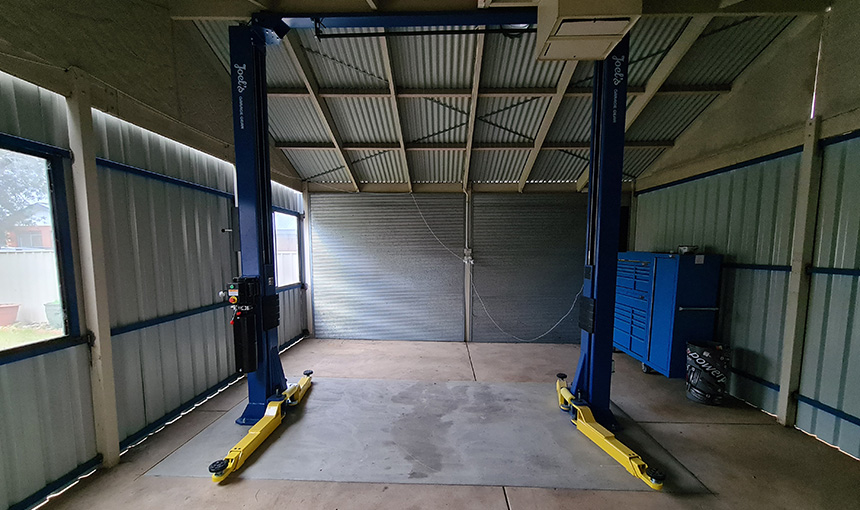
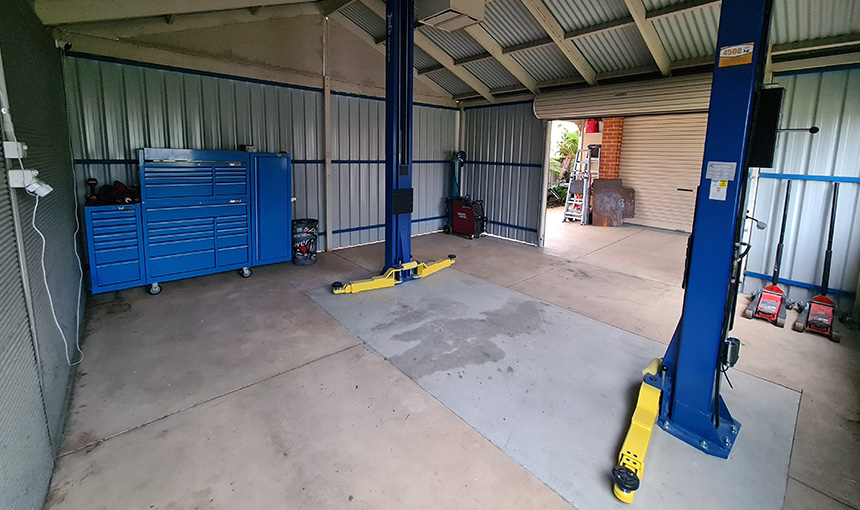
After a month of cure time, the concrete pad is securely set in place and ready to be drilled in order to install the new Joel’s Garage Gear 2 post hoist.
Here is the end result, the 2 post clear floor hoist has been safely installed on the new concrete pad ready to be put to work.
What are the minimum pad requirements for a car hoist?
2 Post Hoist
- 4m wide X 2m long
- 125mm at 32MPa
- 82 mesh
4 Post Hoist
- 600mm X 600mm footings for each of the 4 posts
- 120mm at 32MPa
- 82 mesh
I’m building a new shed with a fresh slab, how thick should I go?
If you’re building a new shed to house your car hoist in, it’s a good idea to speak to your shed builder about your plans first.
There are many considerations to take in to account when laying a new slab however it must meet the minimum requirements in order to install one of our car hoists safely.
Shed Bonanza is one such company that can advise you on suitable concrete whilst detailing the advantages and disadvantages of certain sheds when using them as a workshop with a lift.
Ready to install your car hoist?